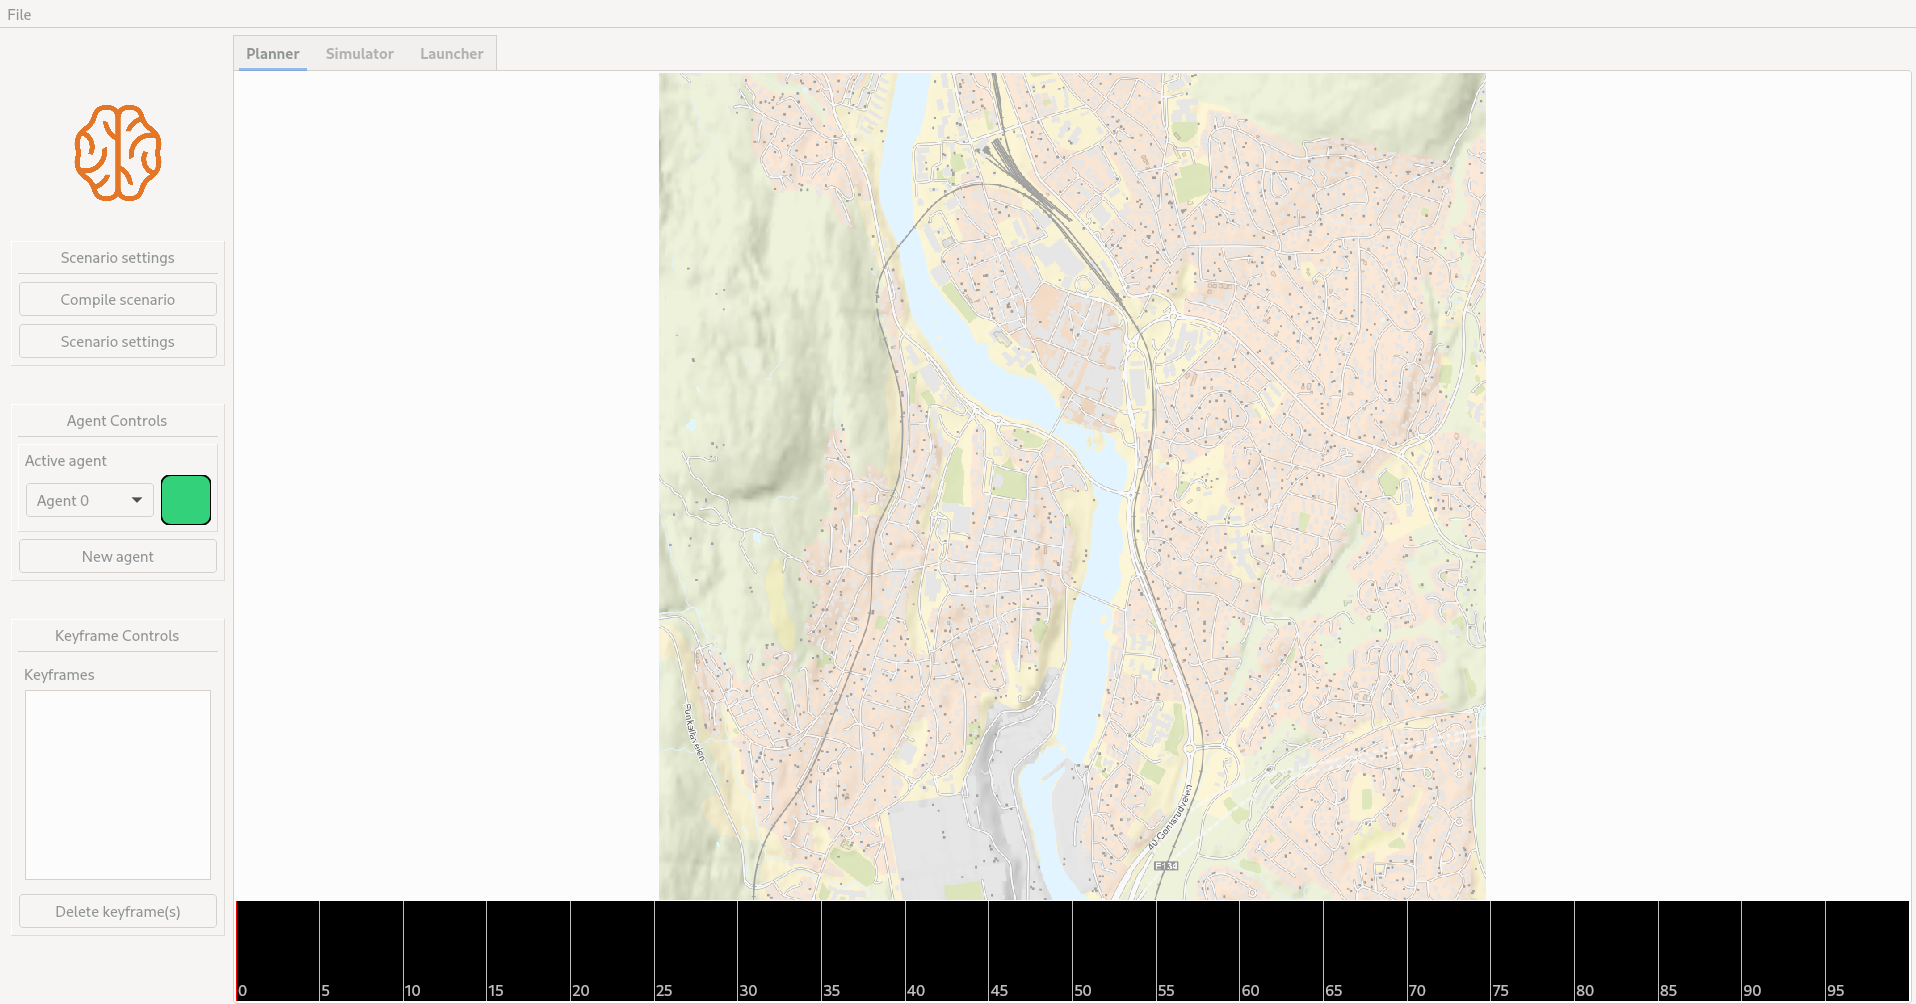
Graphical User Interface
The software has an intuitive user interface that makes it easy to navigate and perform tasks. Here is a description of the key elements in the user interface:
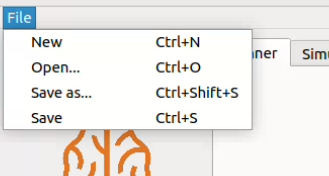
Menu bar
At the top of the window, you will find the menu bar. It includes a dropdown menu that allows you to manage scenarios by loading and saving them.
Sidebar
The sidebar is located on the left side of the window and provides quick access to different tools in the software. It contains the following sections.
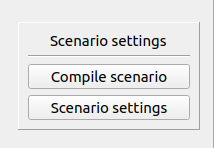
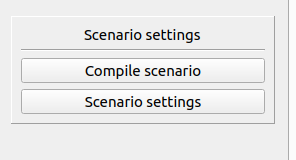
- Scenario Settings: This section allows you to define specific settings for the scenario, such as setting the location and size of the map.
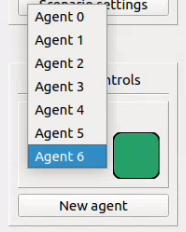
- Agent Controls: In this section, you can manage the agents within the scenario. You have the ability to add new agents to the scenario, and changing the active agent between existing ones.
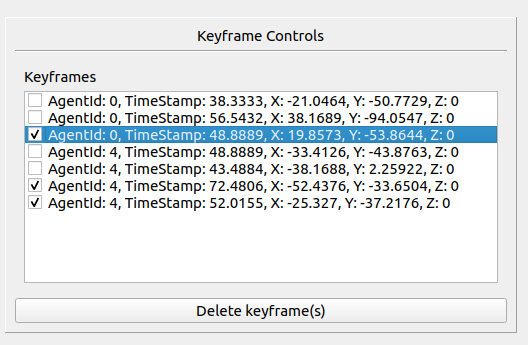
- Keyframe Controls: This section allows you to manage keyframes, which are specific points in time within the scenario that specify an agent's state.
The Planner tab
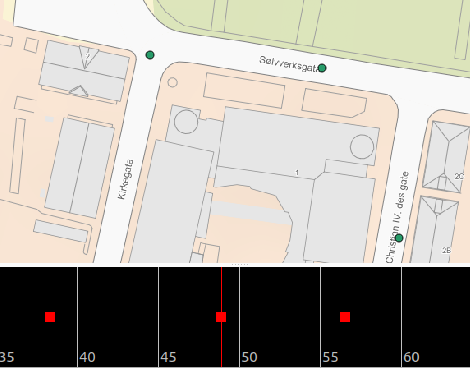
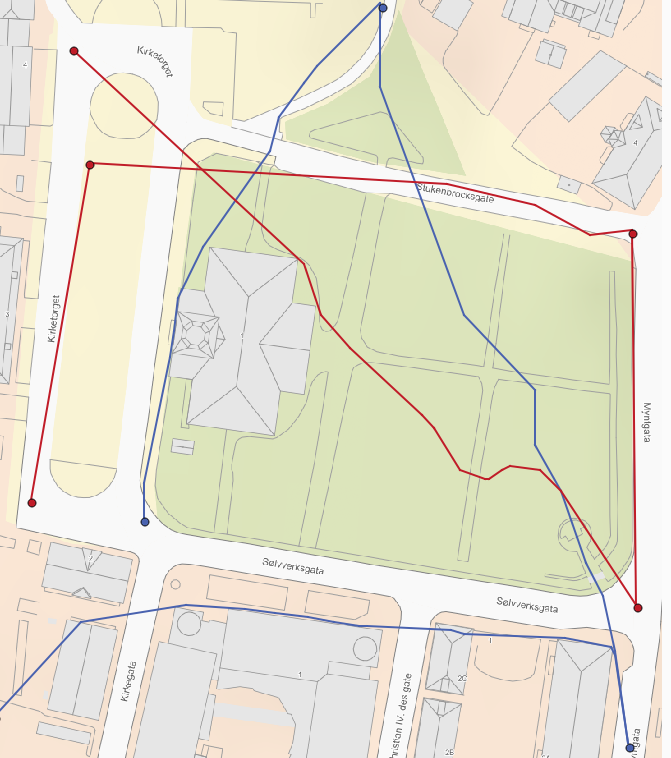
The Planner tab provides a visual representation of both a map and a timeline.
- The map display shows a graphical representation of the area.
- The timeline displays the keyframes of all agents at the specified timestamps.

Functinality of Hivemind
Creating a scenario
Set scenario settings
- Press scenario Settings button in the sidebar and a dialog box will pop up.
- Specify the position on the map by entering geographical coordinates (latitude, longitude).
- Determine the size of the map.
- Click on the "Set Location" button to confirm the settings.
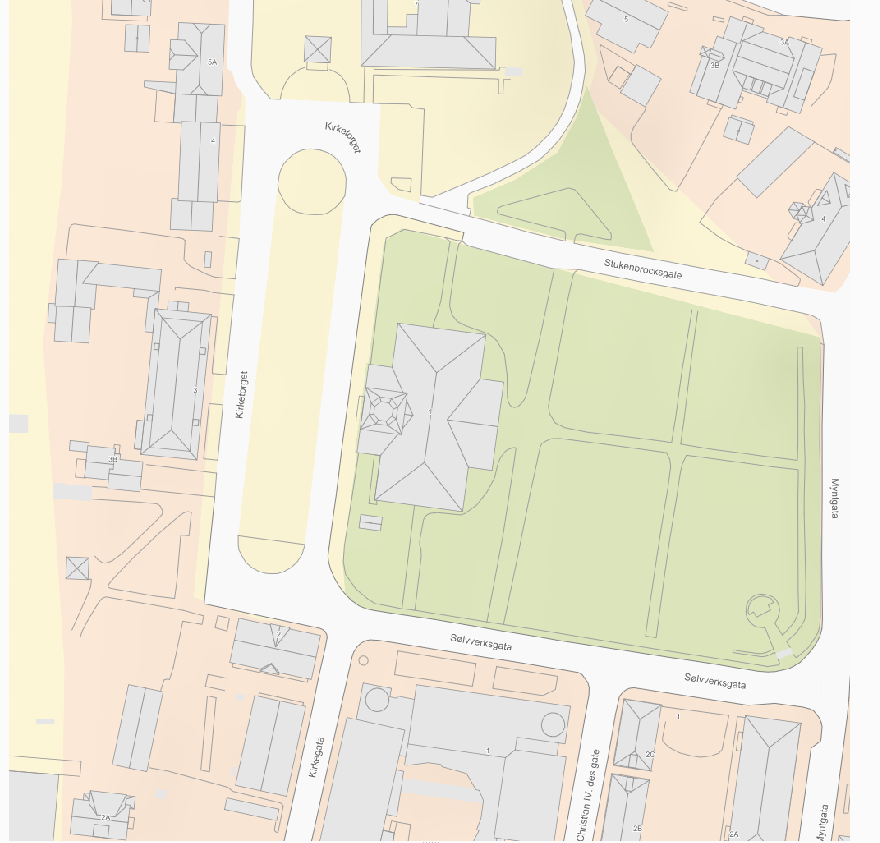
Popular Landmarks in Kongsberg
| Landmark | Latitude | Longitude |
| Kongsberg church | 59.66581 | 9.64628 |
| Krona (University of South-Eastern Norway) | 59.66471 | 9.64434 |
| Hotel 1624 | 59.66944 | 9.65399 |
| Nybrua | 59.66761 | 9.64932 |
| Gamlebrua | 59.66265 | 9.65222 |
| Train station | 59.67221 | 9.65091 |
Add agents
- Click on the New Agent button to create a new agent. This will make the newly created agent the active agent.
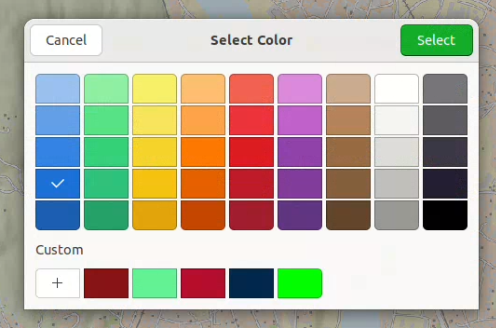
- It is possible to select a color for the agent by choosing from the color options, located to the right in the Agent Control. This color will be used to visually identify the agent in the scenario.
- If you want to switch to a previously created agent, simply click on the desired agent in the list or panel. This will make that agent the active agent, and you can view and modify its details as needed.
Add keyframes
- To add keyframes, first select the agent for which you want to add keyframes.
- Click on the timeline to set the desired timestamp for the keyframe.
- Next, click on the map at the location where you want the keyframe to be associated.
Delete keyframes
- To delete keyframes, check the box(es) corresponding to the keyframe(s) you wish to remove in the keyframe controls panel.
- Click on the "Delete Keyframes" button to delete the selected keyframes.
Alternatively, you can right click on any keyframe in the timeline to prompt deletion of that specific keyframe.
Compile Scenario
- To compile the scenario, locate and click on the "Compile Scenario" button after you have Set scenario settings and added some keyframes to one or more drones.
- The scenario will be displayed on the screen.
Saving Scenarios
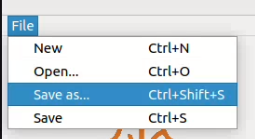
- Navigate to the File menu located in the top menu bar of the software.
- Click on Save from the dropdown menu. Alternatively, you can use the keyboard shortcut "Ctrl + shift + S".
- A save dialog box will appear, allowing you to choose the location on your computer where you want to save the scenario.
- Enter a file name for the scenario in the designated field. It is important to add the file extension *.hmsc*. This is currently not added automatically, but if the proper extension is not added, you will not be able to load it again later.
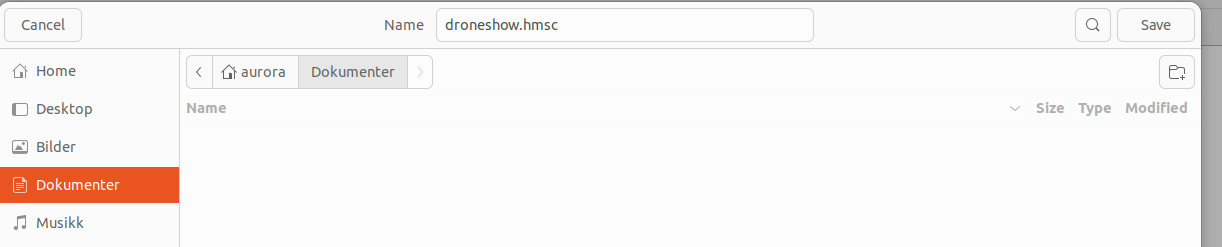
- Click the Save button to save the scenario with the specified name and format to the chosen location.
Loading Scenarios
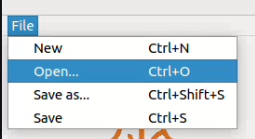
- Navigate to the File menu located in the top menu bar of the software.
- Click on Open from the dropdown menu.
- A file selection dialog box will appear. Navigate to the location where the saved scenario is stored.
- Select the desired scenario file from the list or click on it to highlight it.
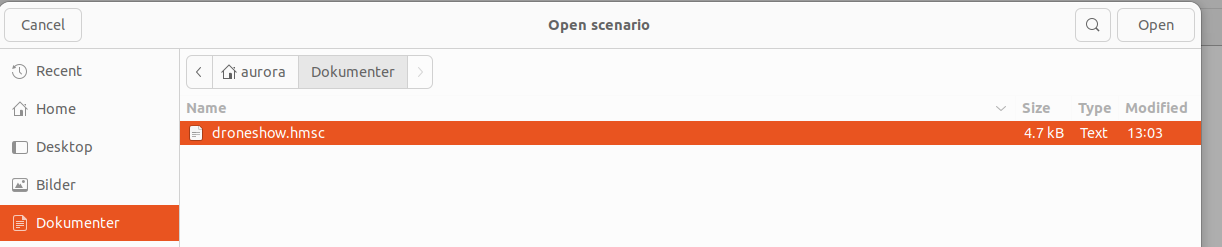
- Click the Open button to load the selected scenario into the software.
- Press the Compile scenario button and the scenario will be displayed in the map.